Spars and rigging
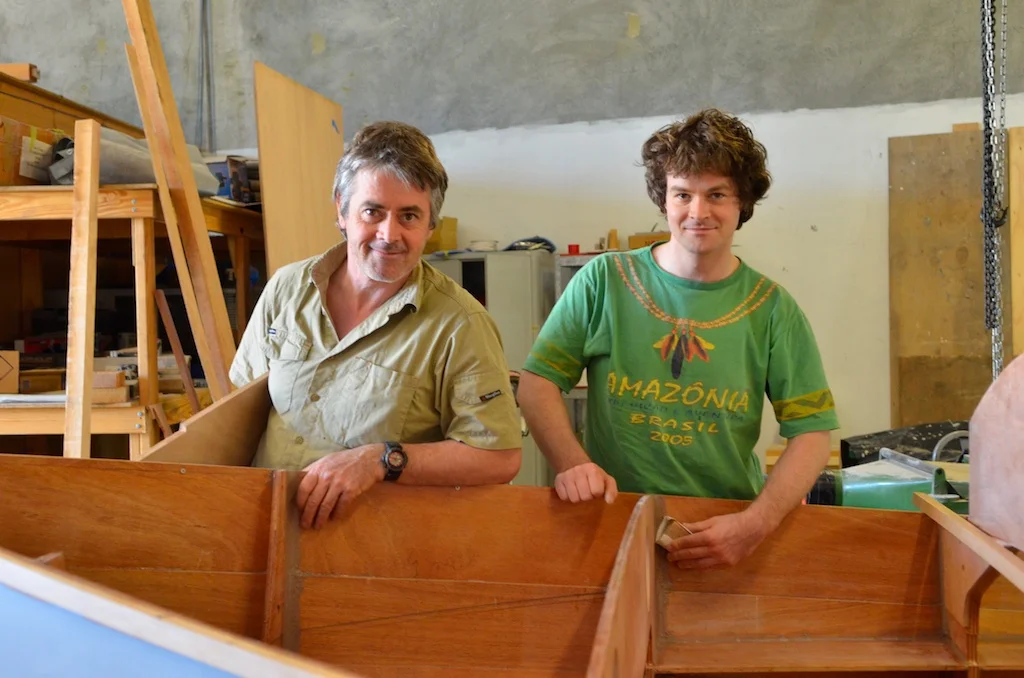
tony o'connor

planing scarfs for the staves.
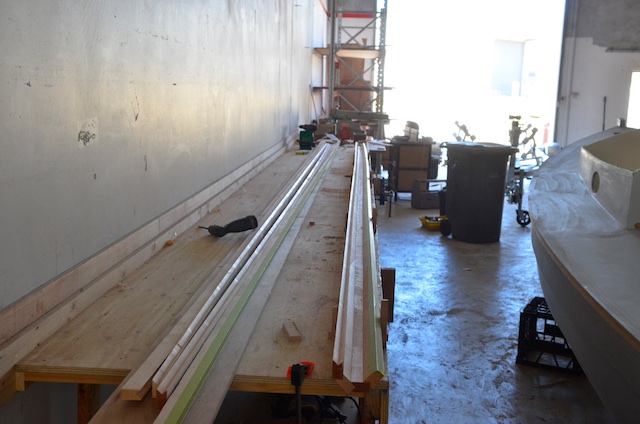
preparing to glue the mast, two edges are masked as the staves are glued, so the mast is first glued in two separate pieces, then the solid ends are made and fitted, the inside sealed with epoxy and ducting for cables fitted.


Main mast glueing up.

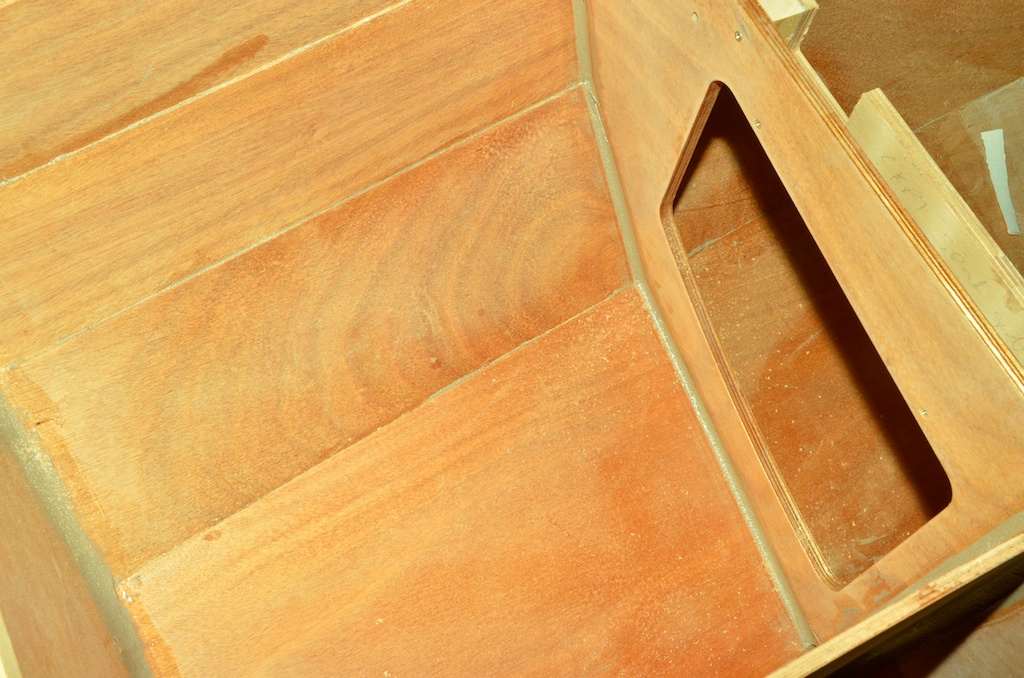
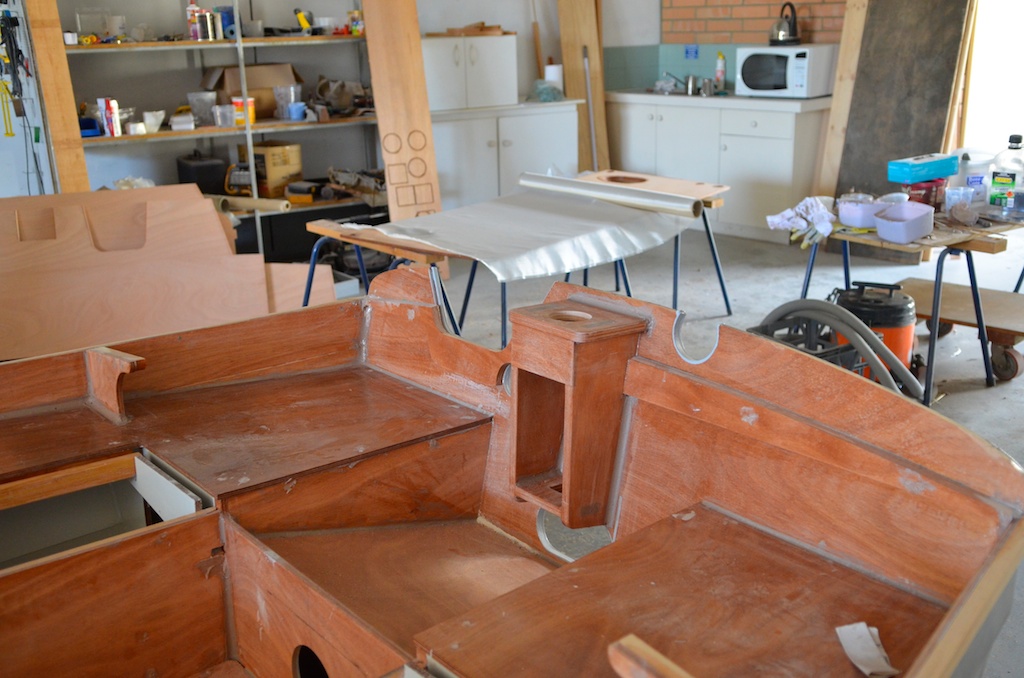
Cable ducting in main mast.
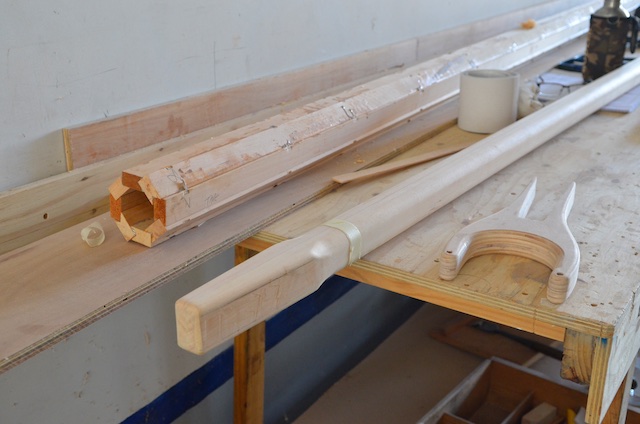
Forward end of boom and partly made main mast.

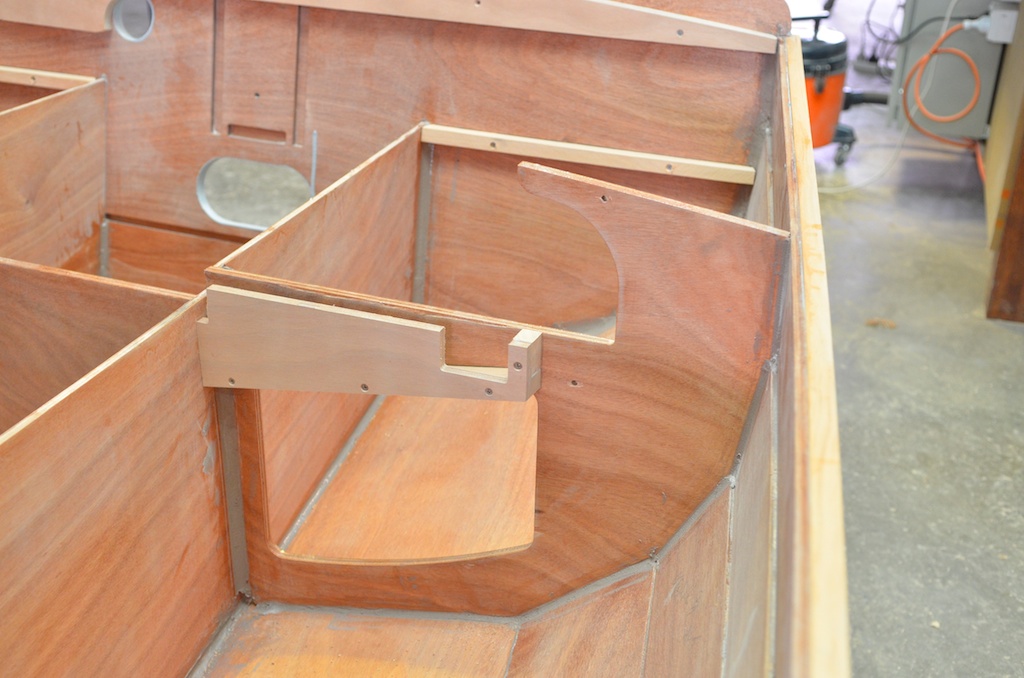
Boom jaws.

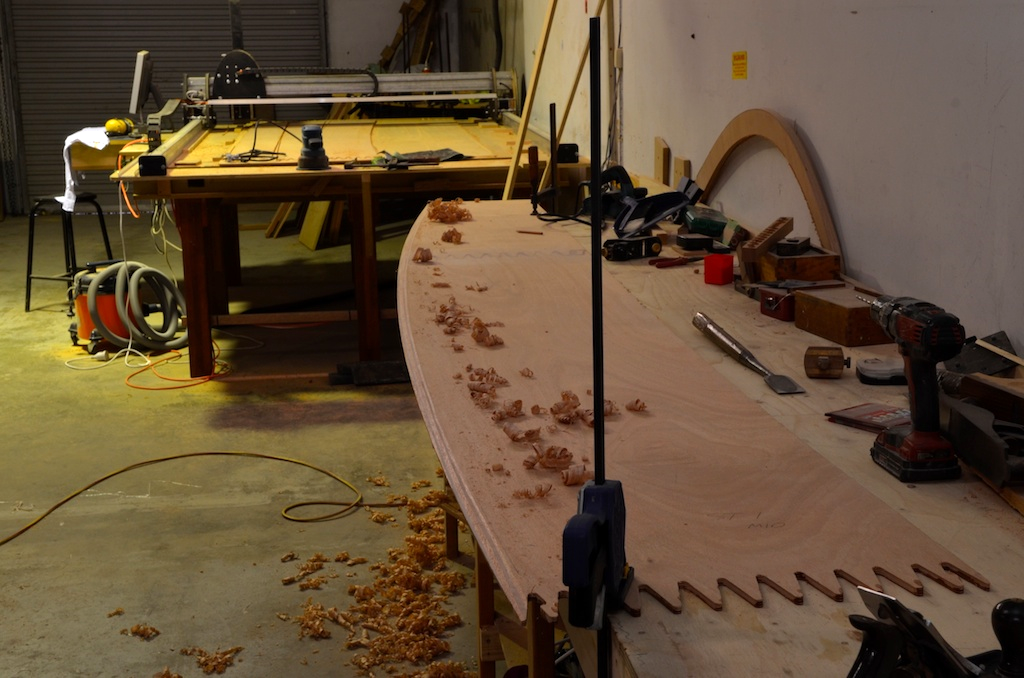
Gaff jaws laminated from 4mm ply pieces cut from cnc files.

Reef comb on boom.

Mizzen and boom
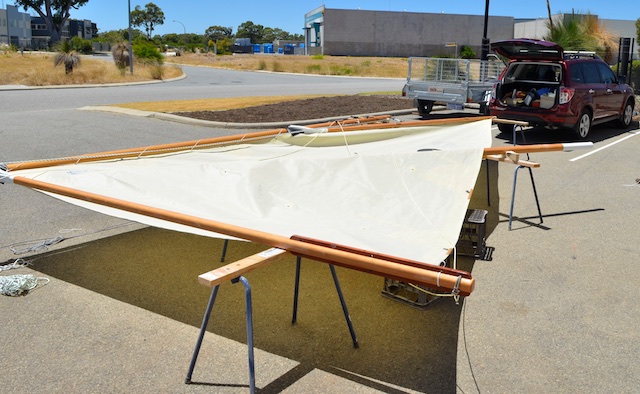
Fitting mainsail, I used the mizzen mast to keep the sail off the ground.

In this picture you can see the duct for cables .