
building frame
tony o'connor
The plans include not only cnc cut parts for the boat parts and building molds but also the building jig itself so from the start all aspects of the construction are linked which helps prevent any errors in construction.
This accuracy did present problems at the beginning.
The plans called for the building jig to be constructed from 15mm structural ply from sheets 2440mm long, but here in Australia our home made ply is 2400 mm long and so I had to hunt around to find some imported structural ply.
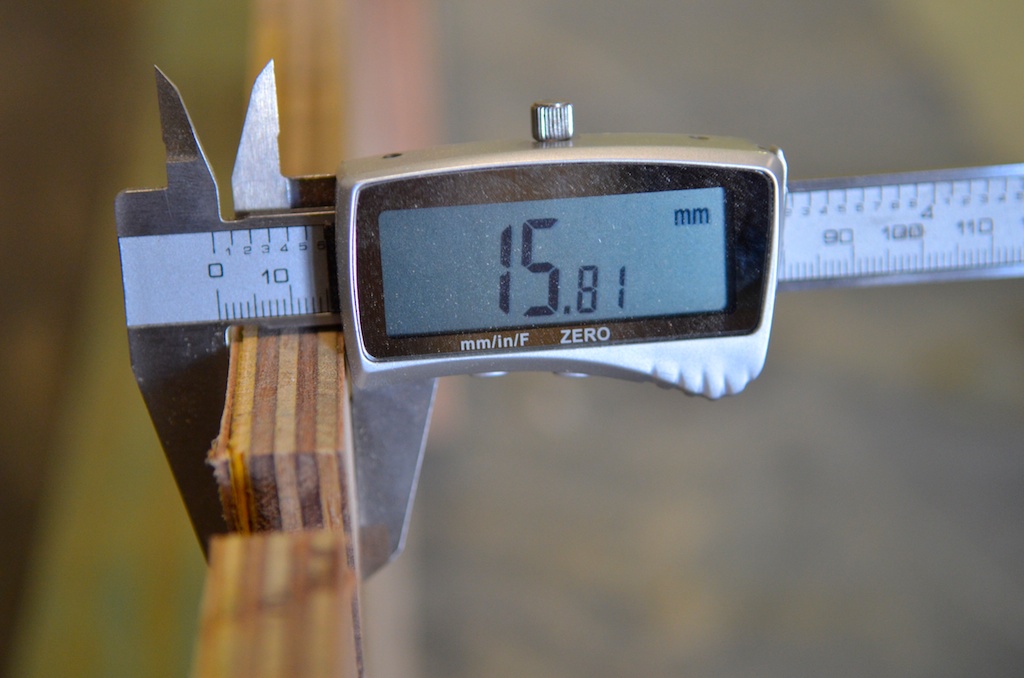
I eventually located ply which was imported from Brazil, but whether because of climatic conditions or inaccurate manufacturing the sheets varied in thickness by almost 1mm.
Since the various components slot together with pre cut notches this meant I had to ease some of the notches.
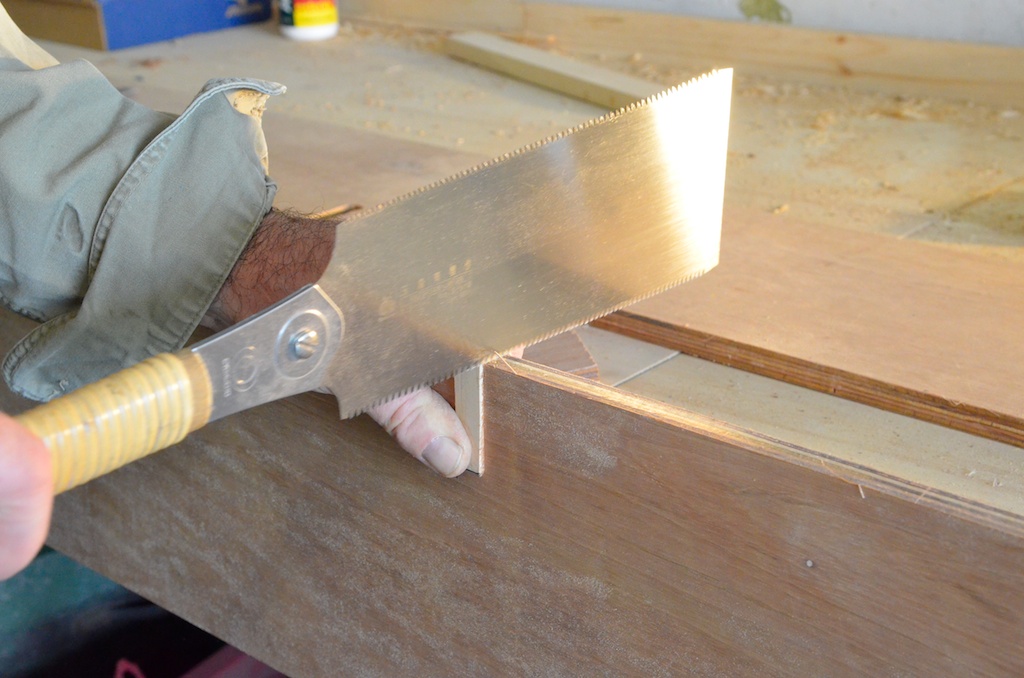
Using a piece of wood that just fitted into the slot I used a technique called saw cutting to run a fine bladed saw down the edge of the wood cutting into the edge of the ply
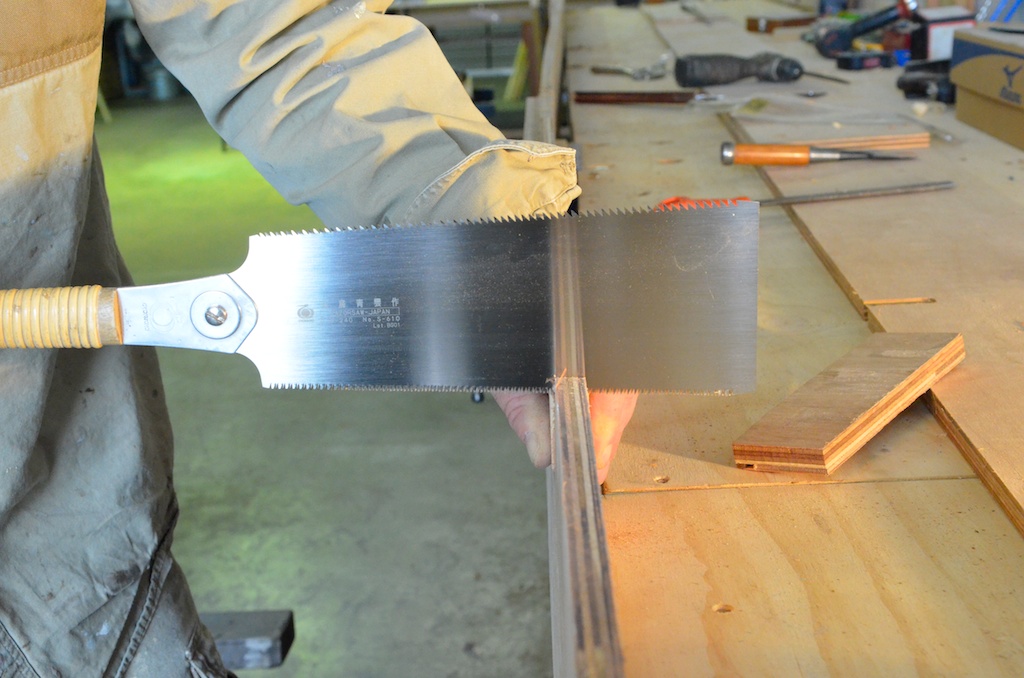

I used a small test piece of ply for each slot and where necessary I finished off with a rasp.
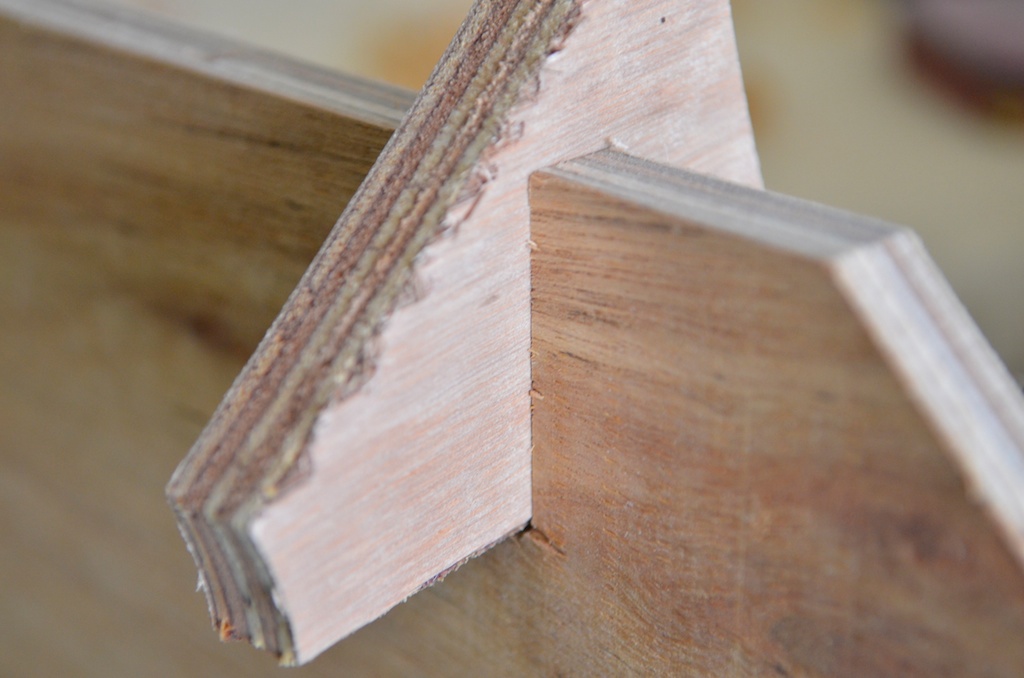
The final fit.
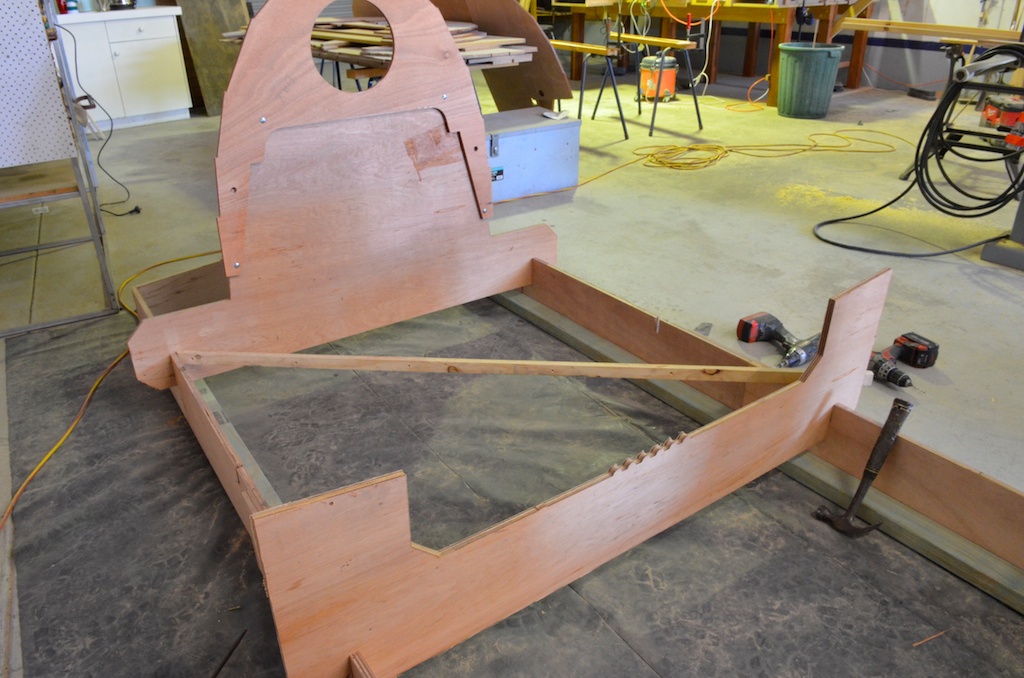
The building jig consists of two long panels linked by individually shaped crosspieces which fit into slots at each station, these crosspieces will hold the frames.
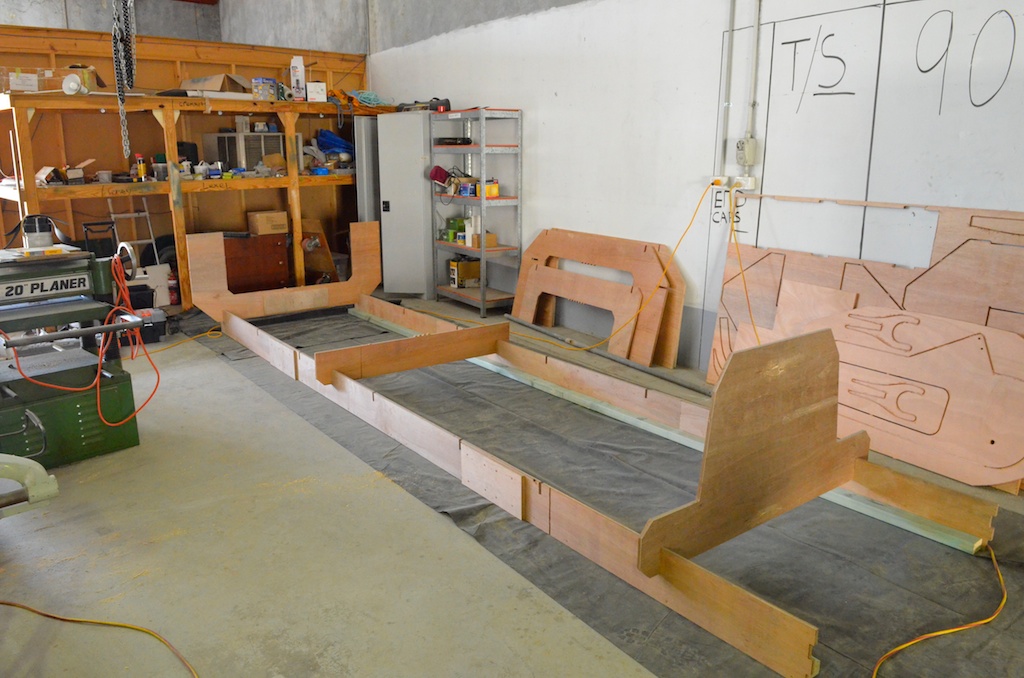
In this picture I have only fitted three of the crosspieces, the other pieces can be seen to the left, I have done this to leave the rest of the building frame clear to lay the actual frames on so I can coat them with epoxy.
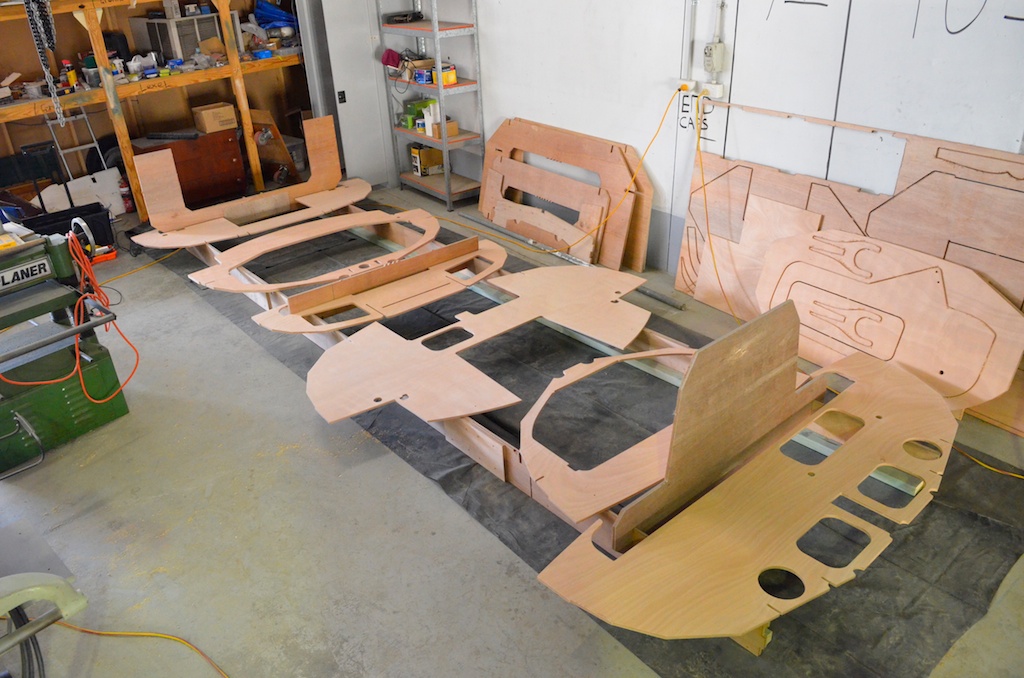
Frames laid out on building jig ready for sealing
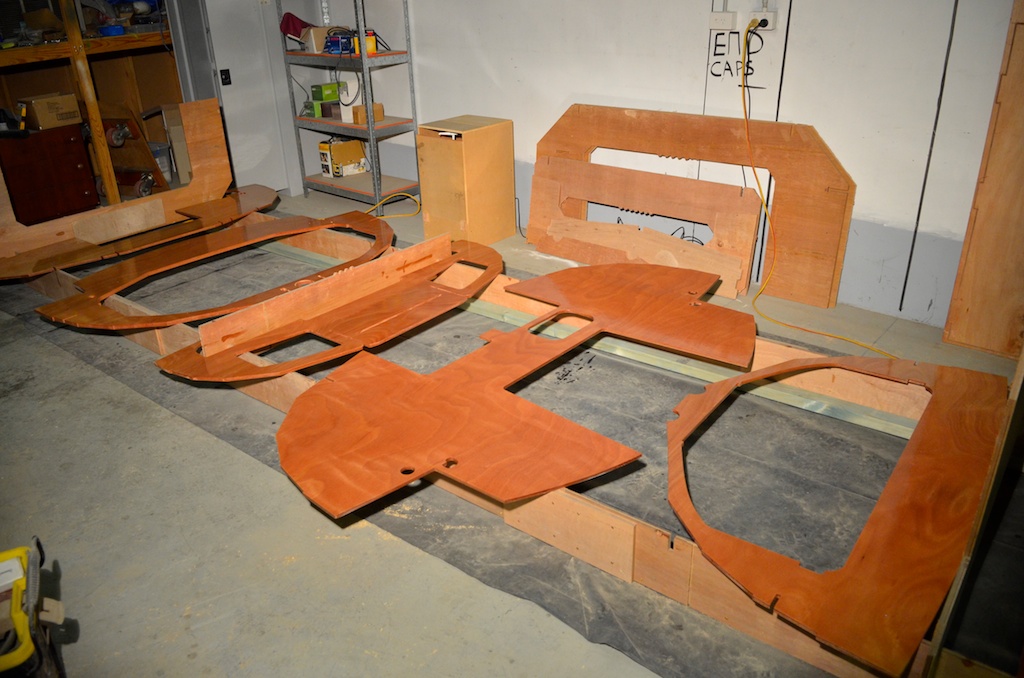
The same frames with two coats of epoxy.
This sanding and sealing took a four days and was a little frustrating since I had all the components in front of me and was keen to start assembling but I wanted them to be fully sealed and sanded so they can be finished off when the boat is assembled without having to try to sand in difficult to reach places.
With the frames sealed and finally sanded I can begin assembly.
First the frame supports can be fitted and levelled
Using a string line to level the frame supports.
In the picture below I have bolted frame 8 to its support, I have omitted support 7 behind it and then used a sharpened stick to check my diagonals against support 6, this is to ensure the building frame is square.
Notice that support 6 has six bumps on its top edge to identify it.
Checking diagonals.